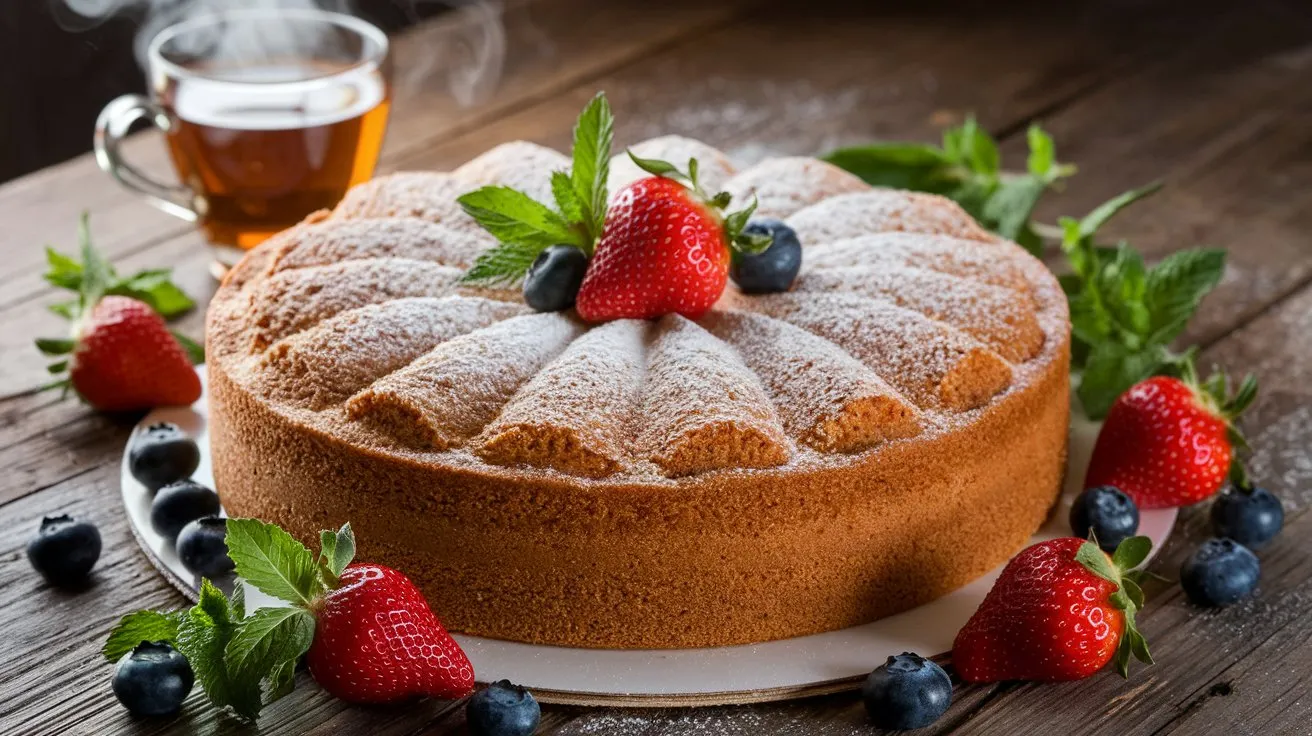
There’s something truly magical about a homemade cake, especially one that’s as moist and comforting as this buttermilk cake. If you’ve never baked with buttermilk before, you’re in for a treat—its rich, tangy flavor and ability to create a soft, tender crumb make this cake irresistible. Whether you’re new to baking or a seasoned pro, this easy recipe is perfect for any occasion. Imagine serving a slice alongside your afternoon tea, or surprising your family with a delicious homemade dessert that’s both simple and indulgent.
What makes this buttermilk cake so special is its versatility. You can enjoy it just as it is, or add a few simple tweaks to customize it to your taste—perhaps a dusting of powdered sugar, a drizzle of your favorite frosting, or even a scoop of ice cream on top. Ready to make your day a little sweeter? Let’s dive into this mouthwatering recipe!
Table of Contents
1. Key Benefits of Buttermilk Cake
Why choose buttermilk cake over other desserts? Let me share some of the incredible benefits of this delightful treat that make it a must-try for your next baking adventure.
1. Moist and Tender Texture
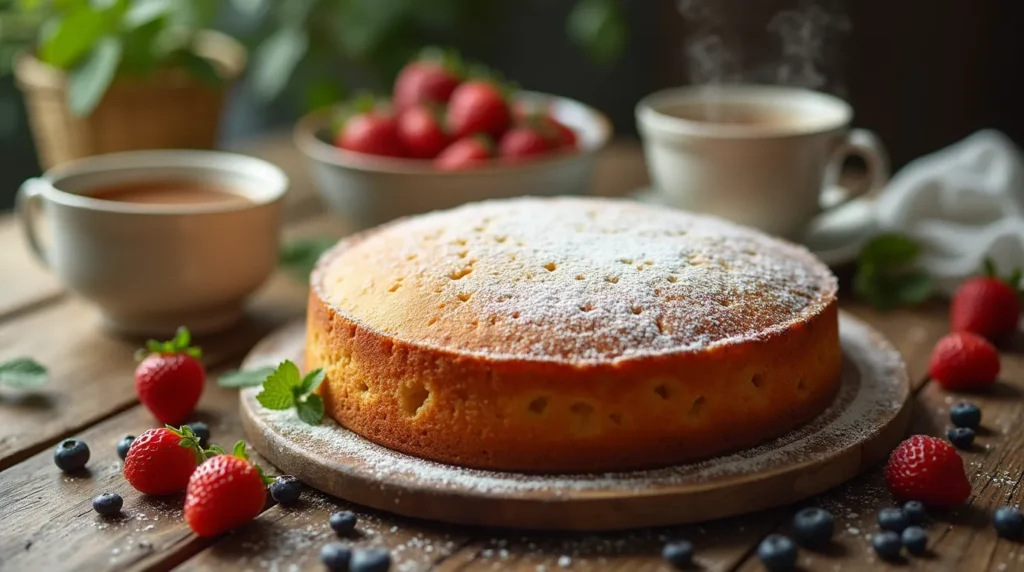
One of the standout features of buttermilk cake is its unbelievably moist texture. Thanks to the buttermilk, this cake stays soft and tender, even days after baking. The tangy acidity in buttermilk works magic, helping to break down the gluten and creating a lighter, fluffier crumb. Perfect for those who love a cake that melts in your mouth!
2. Rich, Irresistible Flavor
The subtle tang of buttermilk pairs beautifully with the sweetness of the cake, giving it a unique, full-bodied flavor. It’s not overly sweet, making it the perfect base for all sorts of flavor variations—from adding a hint of vanilla to folding in fresh citrus zest or a touch of cocoa. This cake serves as a blank canvas for whatever flavor profile you’re craving.
3. Versatile for Any Occasion
Whether you’re baking for a special occasion or simply treating yourself to something sweet, this cake is a crowd-pleaser. It’s perfect for family gatherings, afternoon tea, or even a casual dessert after dinner. And because it’s so easy to make, it’s great for beginner bakers as well as seasoned pros.
4. Quick and Simple to Make
Let’s face it—life gets busy, but who says you can’t enjoy a homemade dessert? This buttermilk cake recipe requires just a few basic ingredients, and the preparation is straightforward. You don’t need to be an expert to bake this beauty—mix, bake, and enjoy. It’s that simple!
5. Can Be Made Ahead
Looking for a cake that can be made in advance? This buttermilk cake is perfect for that! The flavors intensify after a day or two, and the cake stays moist and delicious. It’s a great option for parties or potlucks, as you can bake it ahead of time and focus on other tasks.
2. Ingredients for Buttermilk Cake
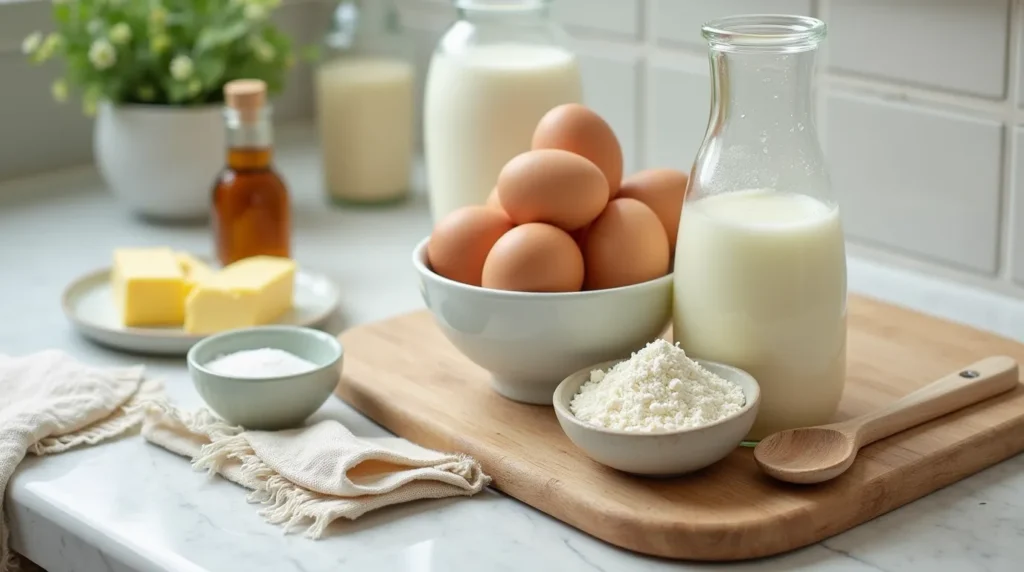
Before we get started with the baking, let’s gather the essentials! This buttermilk cake recipe requires a handful of basic ingredients that you probably already have in your kitchen. Here’s what you’ll need:
Dry Ingredients:
- 2 ½ cups all-purpose flour – This is the foundation of your cake, giving it structure and a light crumb. For best results, be sure to sift the flour to avoid lumps.
- 2 teaspoons baking powder – This gives the cake a nice rise, ensuring it’s light and fluffy.
- ½ teaspoon salt – Just a pinch of salt helps to balance the sweetness of the cake and enhances the flavor.
Wet Ingredients:
- 1 cup buttermilk – The star of the show! Buttermilk makes this cake incredibly moist and tender, while its tangy flavor adds depth to the sweetness.
- 1 cup unsalted butter (softened) – Butter adds richness and helps to create that melt-in-your-mouth texture. Make sure it’s softened to room temperature for easy mixing.
- 1 ½ cups granulated sugar – The sugar adds sweetness and contributes to the cake’s lovely golden color.
- 3 large eggs – Eggs provide structure and moisture to the cake, helping it set and giving it that soft, tender texture.
- 1 teaspoon vanilla extract – For that comforting, aromatic sweetness that brings everything together
3. How to Make Buttermilk Cake
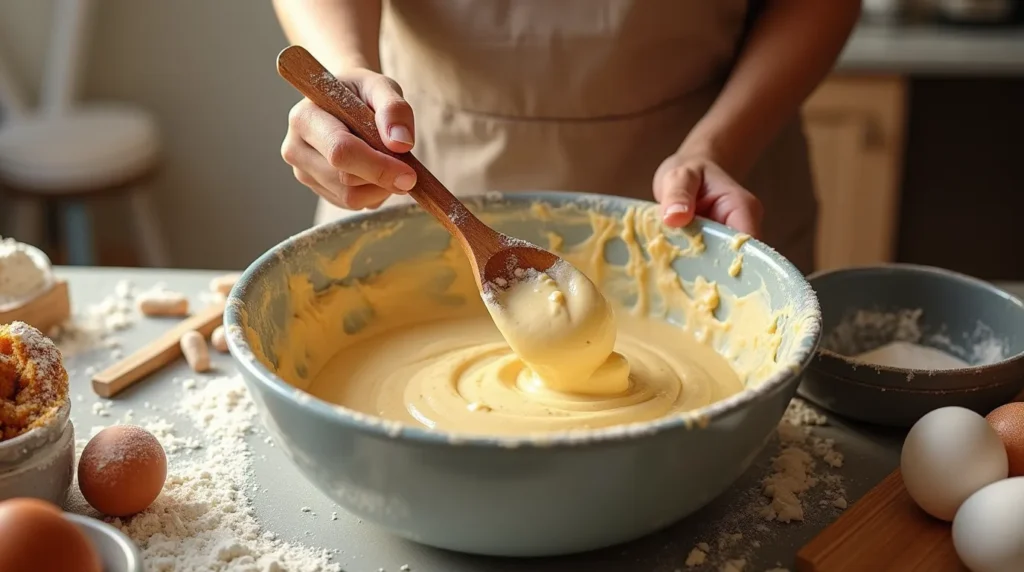
Now that you’ve got all your ingredients lined up, it’s time to roll up your sleeves and get baking! Don’t worry, this process is simple and straightforward, and I’ll guide you through every step. Let’s get started!
Step 1: Preheat the Oven & Prep Your Pans
Before you do anything else, preheat your oven to 350°F (175°C). This ensures that your cake bakes evenly right from the start. While the oven is heating up, grease and flour your cake pans or line them with parchment paper. I recommend using two 9-inch round cake pans or one 9×13-inch rectangular pan, depending on how you want to serve it.
Step 2: Cream Together Butter & Sugar
In a large mixing bowl, cream the softened butter and granulated sugar together until light and fluffy. You can do this with an electric mixer or by hand with a whisk—just make sure you beat the mixture for about 3-4 minutes. This step is key for achieving that tender, airy texture that we love in cakes. It should look pale and smooth when you’re done.
Step 3: Add the Eggs and Vanilla
Add the eggs one at a time, beating well after each addition. The eggs help bind everything together and give the cake its structure. Don’t forget to add vanilla extract at this stage for a touch of warmth and sweetness.
Step 4: Alternate Adding Dry Ingredients and Buttermilk
Now it’s time to incorporate the dry ingredients and the buttermilk. Start by adding about a third of the dry ingredients to the butter-sugar-egg mixture and gently mix until just combined. Then, add half of the buttermilk, mixing until smooth. Repeat this process, alternating between dry ingredients and buttermilk, ending with the dry ingredients. Be careful not to overmix; you want to keep the batter light and airy.
Step 5: Pour and Bake
Once your batter is ready, pour it evenly into your prepared pans. Use a spatula to spread it out gently, making sure the surface is level. Now, place the pans in your preheated oven and bake for 25-30 minutes, or until a toothpick inserted into the center comes out clean. Oven times may vary slightly, so keep an eye on your cake as it bakes.
Step 6: Let It Cool
Once the cakes are baked, let them cool in the pans for about 10 minutes. Then, turn them out onto a wire rack to cool completely. This step is important—if you try to frost the cake while it’s still warm, the frosting could melt, and the texture might not be as perfect.
4. Pro Tips and Variations for Buttermilk Cake
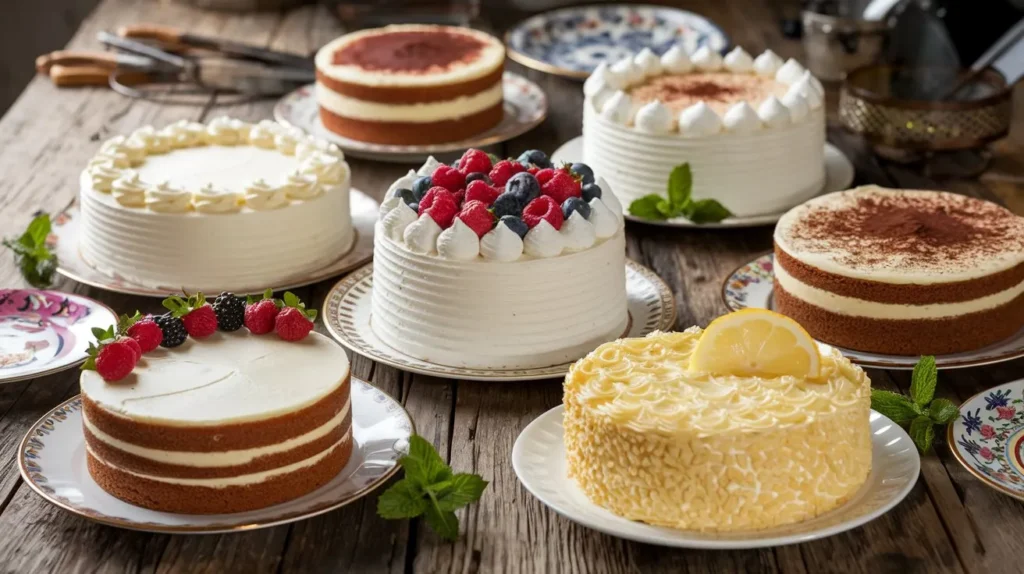
Now that you’ve baked your buttermilk cake, it’s time to make it truly your own! This cake is wonderfully versatile, and there are plenty of ways to elevate its flavor and appearance. Whether you’re looking to customize it with different add-ins or make it more festive with a frosting upgrade, here are some tips and variations to help you get creative.
1. Flavor Variations to Try
- Chocolate Lovers: Want to give your buttermilk cake a chocolate twist? Simply add ½ cup of unsweetened cocoa powder to the dry ingredients. This will create a rich, chocolatey version that’s perfect for anyone with a sweet tooth. You can even add a handful of chocolate chips for extra indulgence!
- Citrus Zest: For a fresh, zesty flavor, fold in lemon zest or orange zest into the batter. The citrus notes will brighten up the cake and give it a light, refreshing taste. This variation is perfect for spring or summer gatherings.
- Spiced Cake: Add a pinch of cinnamon or nutmeg to the dry ingredients for a cozy, spiced flavor. This variation is especially great for the colder months or for pairing with a warm cup of tea or coffee.
2. Dietary Adaptations
- Gluten-Free Version: If you’re looking to make this cake gluten-free, you can swap the all-purpose flour for a gluten-free flour blend. Just make sure the blend includes xanthan gum to help with structure. The texture will be slightly different, but still deliciously soft and moist.
- Dairy-Free Option: To make this cake dairy-free, substitute the buttermilk with unsweetened almond milk or soy milk, and use vegan butter in place of regular butter. You won’t lose out on flavor, and it’s a great option for those with dairy sensitivities.
3. Frosting Ideas to Elevate the Cake
The beauty of buttermilk cake is that it can stand alone with its tender, flavorful crumb, but a good frosting can really take it to the next level. Here are a few frosting ideas to suit different tastes:
- Classic Buttercream: For a rich and creamy topping, you can’t go wrong with vanilla buttercream. It’s easy to make with just butter, powdered sugar, vanilla, and a splash of milk or cream. Whip it up until light and fluffy, then spread generously over your cake.
- Cream Cheese Frosting: If you prefer a tangier frosting, cream cheese frosting pairs beautifully with the buttermilk cake’s flavor. It’s slightly tangy, sweet, and creamy, offering a wonderful contrast to the cake’s softness.
- Whipped Cream: For a lighter, less sweet option, top your cake with fresh whipped cream. Simply whip heavy cream with a little sugar and vanilla until it forms soft peaks. It’s a great way to balance the cake’s richness.
4. Add-Ins to Consider
- Fresh Berries: Fold in fresh berries like blueberries, raspberries, or strawberries for a fruity burst of flavor. Not only will they add a pop of color, but they’ll also complement the cake’s moist texture.
- Nuts: If you like a bit of crunch, try adding some chopped walnuts or pecans to the batter. These will add a nice contrast to the soft crumb and introduce a little bit of texture in every bite.
5. Storing and Freezing Tips
- Storing: If you have leftovers (which is rare!), store the cake in an airtight container at room temperature for up to 3 days. If frosted, store it in the fridge, but let it come to room temperature before serving for the best texture.
- Freezing: Buttermilk cake freezes beautifully! If you want to make it ahead, bake the cake, allow it to cool completely, then wrap it tightly in plastic wrap and aluminum foil. You can freeze the cake for up to 3 months. To thaw, simply leave it at room temperature for a few hours before frosting and serving.
5. Serving Suggestions for Buttermilk Cake
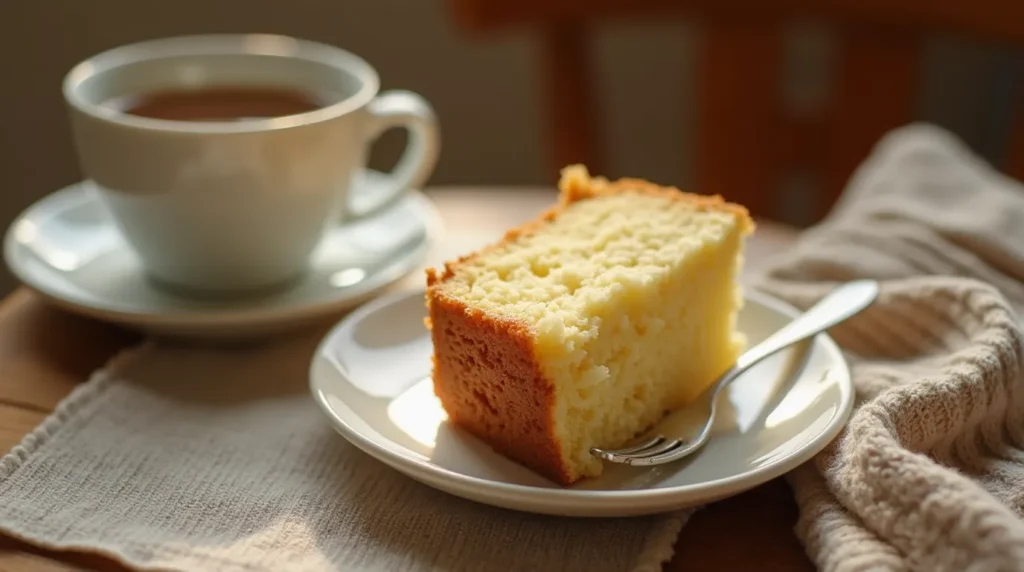
The best part about baking a buttermilk cake isn’t just the delicious flavor—it’s the countless ways you can serve and enjoy it! Whether you’re preparing a casual dessert or creating a stunning centerpiece for a celebration, this cake is incredibly versatile. Here are some ideas to help you serve it in style, no matter the occasion.
1. Serve It as a Simple Dessert
Sometimes, the simplest way is the best way. A slice of this buttermilk cake, served plain or with a light dusting of powdered sugar, is perfect for a no-fuss dessert. It’s naturally delicious and moist, so you don’t need much to make it shine. Pair it with a cup of coffee or tea, and you’ve got a treat that feels like home.
2. Top It with Fresh Whipped Cream
For an extra indulgence, top your buttermilk cake with fresh whipped cream. The airy sweetness of the whipped cream contrasts beautifully with the rich flavor of the cake. To make your whipped cream, simply whip some heavy cream with a little sugar and vanilla extract until it forms soft peaks. It’s a simple, elegant touch that adds a luxurious feel to your cake.
3. Add Fresh or Roasted Fruit
This cake pairs wonderfully with fresh fruit. Try strawberries, blueberries, or raspberries—their natural sweetness complements the cake’s texture perfectly. For a more refined touch, you could even roast fruit like peaches or pears with a drizzle of honey and a pinch of cinnamon. The caramelized fruit adds both flavor and visual appeal, making your dessert even more impressive.
4. Serve with Ice Cream
Want to make your buttermilk cake even more of a treat? Ice cream is always a great companion. A scoop of vanilla, chocolate, or even a fruit sorbet adds a cold contrast to the warm cake and makes for a fun, indulgent dessert. You could also drizzle some chocolate syrup or caramel sauce over the top to make it even more decadent.
5. Create a Layered Cake
If you’ve made your buttermilk cake in two 9-inch pans, why not take it up a notch and turn it into a layered cake? Simply stack the two layers and add a generous amount of your favorite frosting—cream cheese frosting, chocolate ganache, or vanilla buttercream are all great choices. Layering it will give your cake a more festive and impressive look, perfect for birthdays or special occasions.
6. Turn It into a Trifle
For something a bit different, you can transform your buttermilk cake into a trifle. Cut the cake into cubes and layer it with your favorite custard or pudding, fresh fruit, and whipped cream. Serve it in individual cups or a large trifle dish for a fun and elegant dessert that’s as beautiful as it is delicious.
6. Conclusion: Why You’ll Love This Buttermilk Cake
There’s something undeniably comforting about a homemade cake—especially when it’s as moist, fluffy, and full of flavor as this buttermilk cake. If you’re looking for a versatile, easy-to-make dessert that’s bound to impress, this is it. Whether you’re baking for a special occasion or simply want to treat yourself, this cake is the perfect choice for any moment that calls for a little sweetness.
Buttermilk cake is everything you want in a dessert: simple to make, yet luxuriously rich in flavor. The buttermilk gives it that wonderful tender crumb, while the cake’s subtle tang pairs beautifully with a variety of toppings and variations. The best part? It’s incredibly adaptable, meaning you can customize it to suit your preferences, whether you’re adding a dash of cinnamon, a handful of fresh berries, or a generous layer of frosting.
This cake also stores incredibly well. Unlike many cakes that dry out after a day or two, buttermilk cake stays moist and soft for several days—making it an excellent choice for meal prep, potlucks, or making ahead for a weekend treat. If you’re lucky enough to have leftovers, you can always freeze it for later, keeping it fresh and ready to enjoy when the craving hits.
Why You’ll Keep Coming Back:
- Moist, tender crumb that stays fresh longer than other cakes.
- Quick and easy to make with pantry staples.
- Customizable for endless flavor combinations.
- Great for any occasion, whether it’s a casual afternoon snack or a festive celebration.
7. FAQs: All Your Buttermilk Cake Questions Answered
I know you might have some questions before you dive into making this delicious buttermilk cake, so I’ve compiled answers to some of the most frequently asked questions. Whether you’re a first-time baker or a seasoned pro, these tips and tricks will help ensure your cake turns out perfectly every time.
1. Can I use regular milk instead of buttermilk?
You can! If you don’t have buttermilk on hand, there are a few easy substitutes. Mix 1 cup of regular milk with 1 tablespoon of lemon juice or vinegar. Let it sit for about 5 minutes to “sour” the milk before adding it to the batter. This will give you a similar tang and acidity that buttermilk would provide.
2. Can I make this cake in advance?
Yes, absolutely! This buttermilk cake actually improves in flavor and moisture after sitting for a day or two. After baking, allow the cake to cool completely and store it in an airtight container at room temperature for up to 3 days. If you’re preparing for a larger event, this is a great option, as the cake stays fresh and moist.
3. How can I make this cake gluten-free?
To make a gluten-free buttermilk cake, simply swap the all-purpose flour with a high-quality gluten-free flour blend. Be sure to choose one that includes xanthan gum, as it helps the cake retain its structure. The texture will be slightly different, but still deliciously soft and moist.
4. How do I store leftover cake?
If you have leftover cake (and I’m sure you will!), simply store it in an airtight container at room temperature for up to 3 days. If you’ve frosted it, it’s best to keep it in the fridge to preserve the frosting’s texture. When you’re ready to enjoy, let the cake come to room temperature for the best flavor and texture.
5. Can I freeze this cake?
Yes! This buttermilk cake freezes wonderfully. To freeze, allow the cake to cool completely, then wrap it tightly in plastic wrap and place it in an airtight freezer bag or container. It will keep for up to 3 months. When you’re ready to enjoy it, let it thaw at room temperature for a few hours. You can also freeze the cake layers individually and assemble it later for a special occasion.
6. Can I make this cake dairy-free?
Yes, it’s easy to make this cake dairy-free! Simply substitute the buttermilk with a dairy-free alternative like almond milk or soy milk (you may want to add a teaspoon of lemon juice to add a little tang). Also, swap the unsalted butter for a vegan butter or coconut oil to keep the recipe dairy-free.
7. How do I know when my cake is done?
The best way to check for doneness is by inserting a toothpick or cake tester into the center of the cake. If it comes out clean or with just a few moist crumbs, the cake is done. If it’s still wet, continue baking for an additional 5-10 minutes and check again.

